Starting Your First Allotment
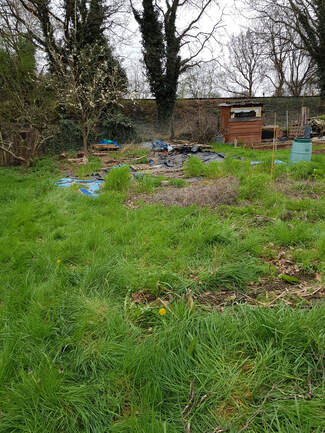
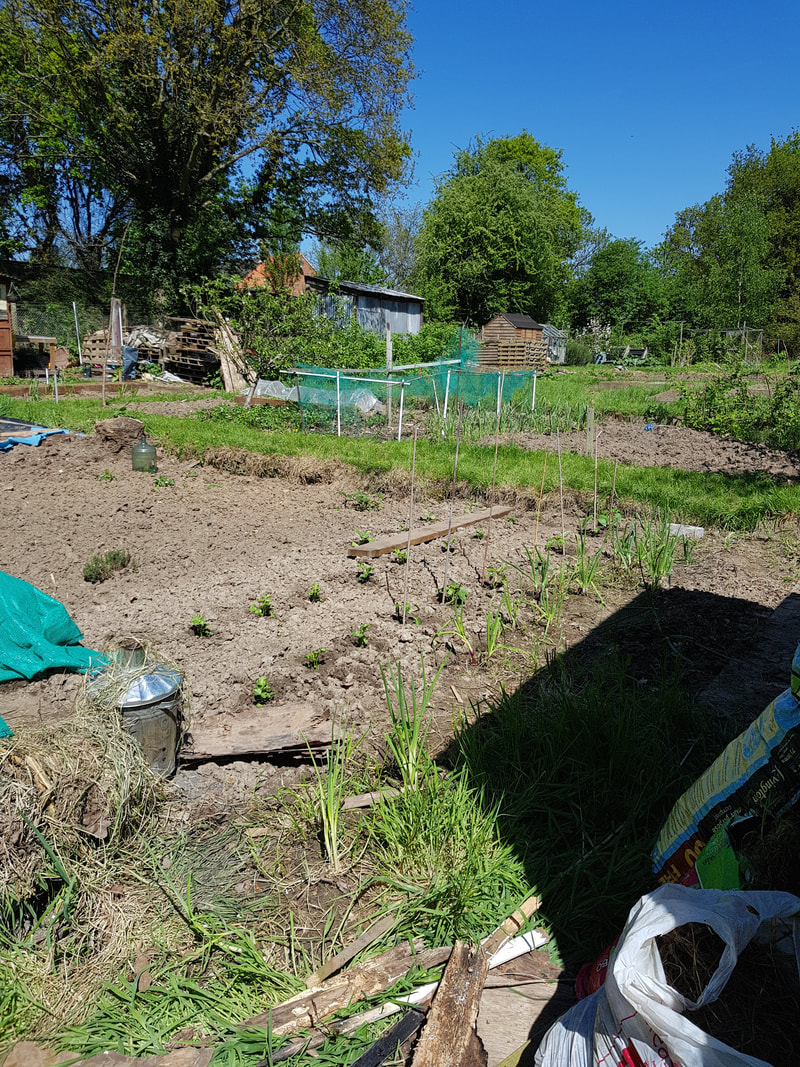
After waiting so long to get your allotment , you will probably face a daunting task to bring it back into productivity. How much work will soon become apparent once you start. Do not give up because of this. Little and often will crack the toughest nut. Take your time so that what you do is a job well done, it will make life easier later on. You cannot build a good house on poor foundations. Prepare a small area and plant or sow into the ground. This will reward you and encourage you whilst you clear more ground.
Ground that you have not yet begun to convert back into an allotment is best covered to prevent light getting to the weeds and grass. This will kill a lot of the weeds and grass for you, making your work much easier. The dead top growth will also rot down and feed the soil for you. Difficult weeds like bindweed and couch grass will probably survive this and need to be removed. Many people use non transparent plastic to achieve this, however then you are left with unwanted plastic, which breaks into many small pieces on your plot. A much better and enviromentally friendly way is to use plain cardboard with the staples and cellotape removed. Weight this down and it will work well, its free and rots down to improve your soil.
The way that you wish to cultivate your plot decides how you clear your plot. If you wish to cultivate the traditional way, then you clear the top growth and dig your plot. Do not mix your sub soil with your top soil. Sub soil will be a different colour to your top soil, possibly yellow in colour. It maybe a different colour. Also do not pile the soil up as you dig. Dig with a fork, not a spade and just turn the fork over as you raise it a few inches from the ground with the clod of earth on it. This is less tiring. Then fork out the plant roots using the fork to shake the soil off the roots. You need to remove as much roots as possible. If done properly this is a slow and tiring process. With little and often approach your progress soon mounts up.
Burn the roots and weeds, don't compost when clearing the ground for the first time. The ashes can be spread on the plot as fertiliser.
If you wish to cultivate using the nodig method then you have two choices . The purist way, cover the ground with a thick layer of cardboard and cover with
10 cm of compost. The otherway is to dig once or spot weed the difficult weeds like bindweed, then add the cardboard and compost. You do not need wooden borders around the beds, but its up to you. However be warneds they act as slug hotels. I dug my plot, then went nodig when I could get hold of lot of rotted manure, it made my first year easier digging out the bindweed and couch grass.
Once your plot is ready cultivate it. The next step after this is improve your soil to reward you with good crops.
|
|
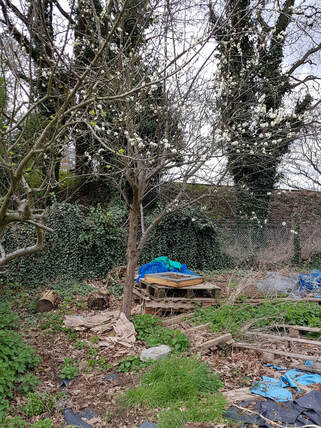
Starting a new allotment 15th April 2018
|
|
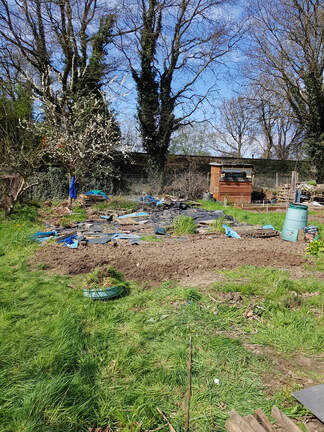
May 2018
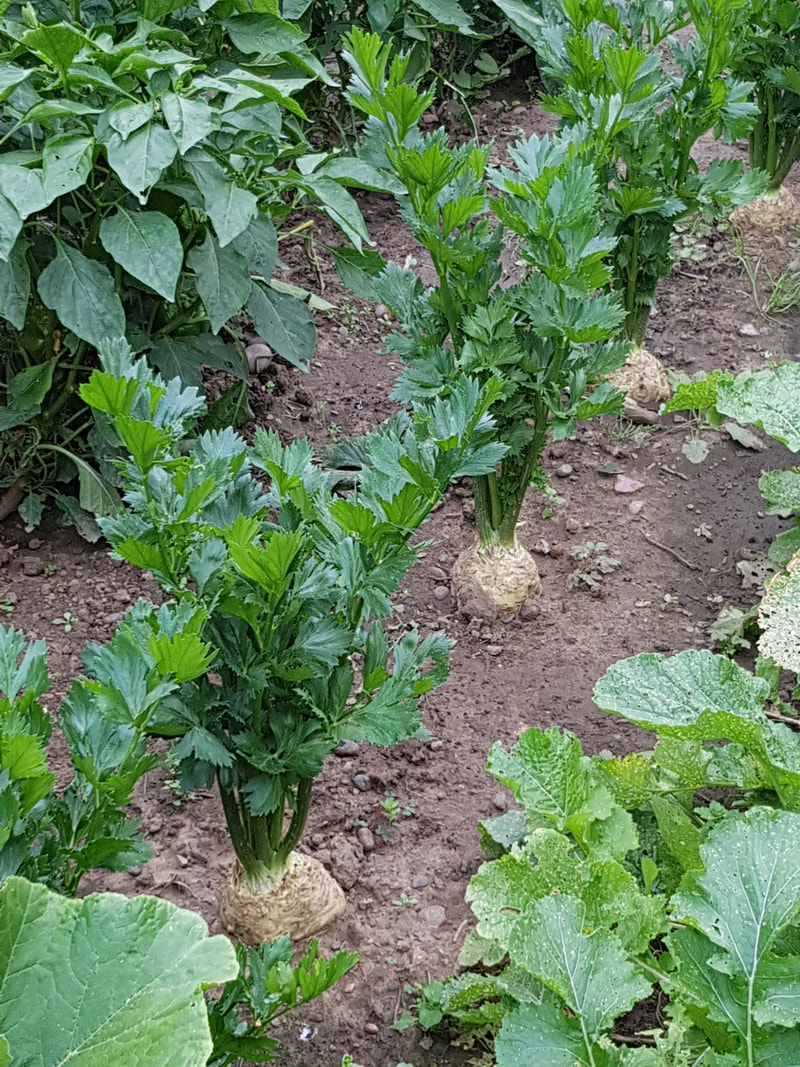

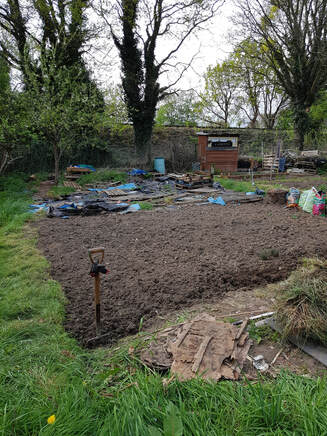
Summer 2018
Steve who has the youtube channel "Greenside up" is a very experienced gardener and tells you how to get started with a new allotment.
Steve who has the youtube channel "Greenside up" is a very experienced gardener and tells you how to get started with a new allotment.
